Tools · Setup guide
Ghostty · tmux · Zoxide
Three small tools that together let you run several AI coding agents side by side without losing track of them: Ghostty gives you fast tabs and splits, tmux keeps each agent alive in a named session even when you close the window, and zoxide gets you into the right project directory in two keystrokes.
Before you start
- macOS with Homebrew installed.
- zsh — that's the team's shell, and the zoxide setup line below is the zsh one.
- Roughly this mental model: Ghostty is the window, tmux is what survives inside it, zoxide is how you get where you're going.
Set it up
1. Install Ghostty
Download the .dmg from ghostty.org/download, open it, and drag Ghostty to your Applications folder. Or use the community-maintained cask, which repackages the same official .dmg:
brew install --cask ghosttyCheck the version from a terminal:
/Applications/Ghostty.app/Contents/MacOS/ghostty --versionGhostty 1.3.12. Learn Ghostty's tab and split keys
These are Ghostty's shipped macOS defaults — one tab per agent, splits when you want two agents visible at once:
| Keys | Action |
|---|---|
⌘T |
New tab |
⌘1–⌘8 |
Jump straight to tab 1–8 |
⌘⇧[ / ⌘⇧] |
Previous / next tab |
⌘D |
Split right |
⌘⇧D |
Split down |
⌘[ / ⌘] |
Previous / next split |
⌘⌥←↑↓→ |
Move focus to the split in that direction |
⌘N |
New window |
Ghostty's config file on macOS lives at $HOME/Library/Application Support/com.mitchellh.ghostty/config (it also reads config.ghostty, and the XDG path $XDG_CONFIG_HOME/ghostty/config.ghostty). Reload it without restarting with ⌘⇧,.
3. Install tmux
brew install tmuxtmux -Vtmux 3.6a4. Start a named session per agent
The point of tmux here: a session keeps running after you close the terminal window, so a long agent run doesn't die when you quit Ghostty.
tmux new-session -d -s c2demo -n agent-a
tmux list-sessionsc2demo: 1 windows (created Fri Jul 31 13:21:02 2026)-d starts it detached (in the background), -s names the session, -n names its first window.
5. Add a window per agent
tmux new-window -t c2demo -n agent-b
tmux list-windows -t c2demo0: agent-a- (1 panes) [80x24] [layout b25d,80x24,0,0,0] @0
1: agent-b* (1 panes) [80x24] [layout b25e,80x24,0,0,1] @1 (active)The * marks the active window; - marks the previously active one.
6. Split a window into panes
tmux split-window -t c2demo:agent-a -h
tmux list-panes -t c2demo:agent-a0: [40x24] [history 0/2000, 960 bytes] %0
1: [39x24] [history 0/2000, 960 bytes] %2 (active)7. Drive it from the keyboard
tmux's prefix key is C-b — hold Control, press b, release both, then press the next key.
| Keys | Action |
|---|---|
C-b c |
New window |
C-b % |
Split into left and right panes |
C-b " |
Split into top and bottom panes |
C-b ←↑↓→ |
Move to the pane in that direction |
C-b d |
Detach (leaves everything running) |
8. Detach and come back
Detaching prints [detached (from session mysession)] and leaves your agents running. Reattach later:
tmux ls
tmux attach -t c2demo
tmux attach with no arguments reattaches to the most recently used session.
9. Clean up when an agent is done
tmux kill-session -t c2demo
tmux lsno server running on /private/tmp/tmux-501/defaultThat last message is expected once you've killed the only session — tmux shuts its server down when nothing is left.
10. Install zoxide
brew install zoxidezoxide --versionzoxide 0.9.811. Wire zoxide into zsh
Add this to the end of ~/.zshrc:
eval "$(zoxide init zsh)"Two things the README is emphatic about: it must go at the end of the file, and it must come after compinit is called or completions won't work. You may need to rebuild your completions cache afterward. Open a new tab (⌘T) to pick up the change.
12. Jump with z
zoxide learns the directories you actually use and ranks them, so a fragment of the name is enough:
z foo              # cd into highest ranked directory matching foo
z foo bar          # cd into highest ranked directory matching foo and bar
z foo /            # cd into a subdirectory starting with foo

z ~/foo            # z also works like a regular cd command
z foo/             # cd into relative path
z ..               # cd one level up
z -                # cd into previous directory

zi foo             # cd with interactive selection (using fzf)
Here's the ranking working. After visiting creative2-site twice and creative2-api once:
zoxide query site/tmp/zdemo/creative2-sitezoxide query -ls creative2 8.0 /tmp/zdemo/creative2-site
4.0 /tmp/zdemo/creative2-apiTwo visits scored 8.0 against one visit's 4.0, so bare z site goes to the one you use more. That ranking is the whole trick — you stop typing paths.
What success looks like
⌘Tin Ghostty opens a new tab instantly, and⌘Dsplits the current one.tmux lslists your named sessions, and closing the Ghostty window doesn't kill them —tmux attach -t <name>brings them back exactly as you left them.- Typing
zplus a fragment of a project name lands you in that project directory, without typing the path.
Verified vs not
Verified on this machine (macOS 25.5.0, zsh): tmux 3.6a — session create, list-sessions, new-window, list-windows, split-window, list-panes, send-keys, capture-pane, and kill-session were all run and the output above is captured verbatim. zoxide 0.9.8 — ranking and query behavior were exercised against a throwaway _ZO_DATA_DIR, so nothing touched a real zoxide database. Ghostty 1.3.1 — the keybinding table was read from the installed binary's own defaults (ghostty +list-keybinds --default), not from memory.
Not simulated: the Ghostty install itself (it is a GUI app and was not installed or launched here; the .dmg and Homebrew steps are quoted from Ghostty's official docs), and the eval "$(zoxide init zsh)" line being added to a real ~/.zshrc — that line is quoted verbatim from the official README but was not written into anyone's shell config.
Go deeper
-
 ghostty.org ↗
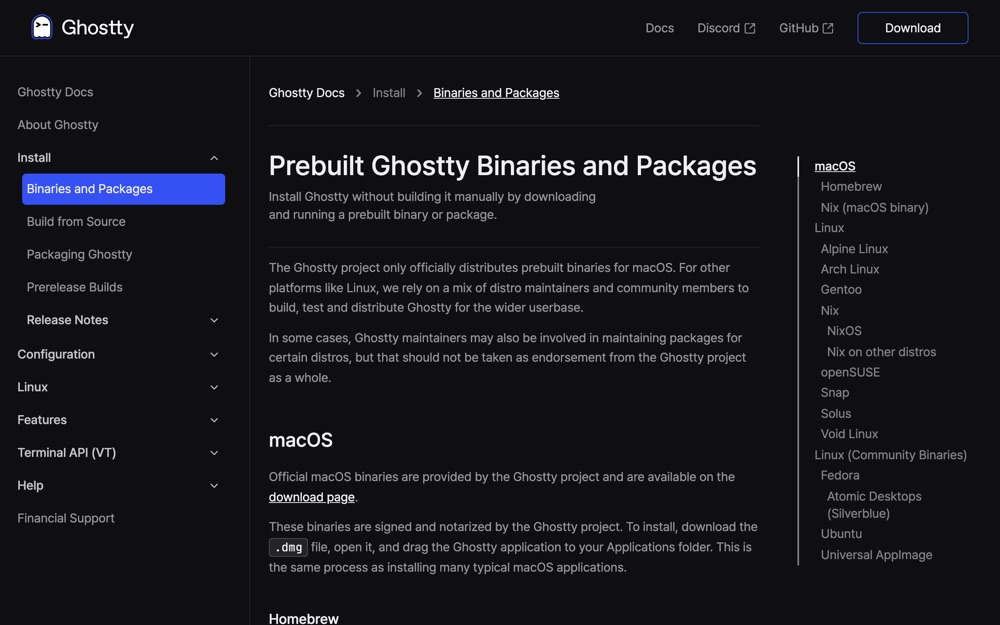
and keybind reference — official; the install steps and the full list of keybind actions you can remap.
ghostty.org ↗
and keybind reference — official; the install steps and the full list of keybind actions you can remap.
-
 github.com ↗
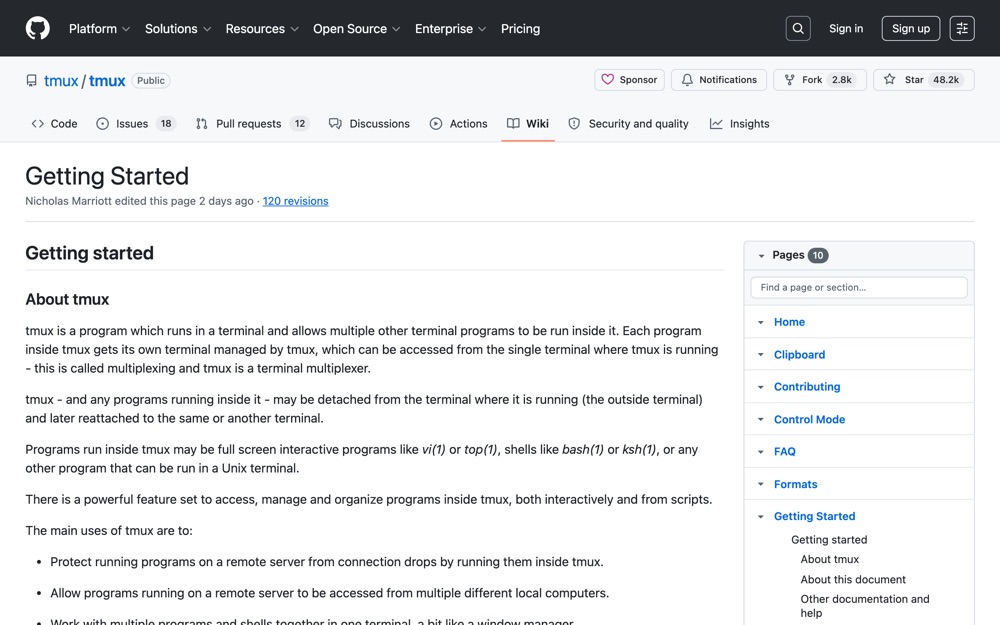
maintained by the tmux project itself, and the clearest explanation of the prefix key for people who've never used tmux.
github.com ↗
maintained by the tmux project itself, and the clearest explanation of the prefix key for people who've never used tmux.
-
 github.com ↗
same source, for scripting sessions and custom layouts once the basics stick.
github.com ↗
same source, for scripting sessions and custom layouts once the basics stick.
-
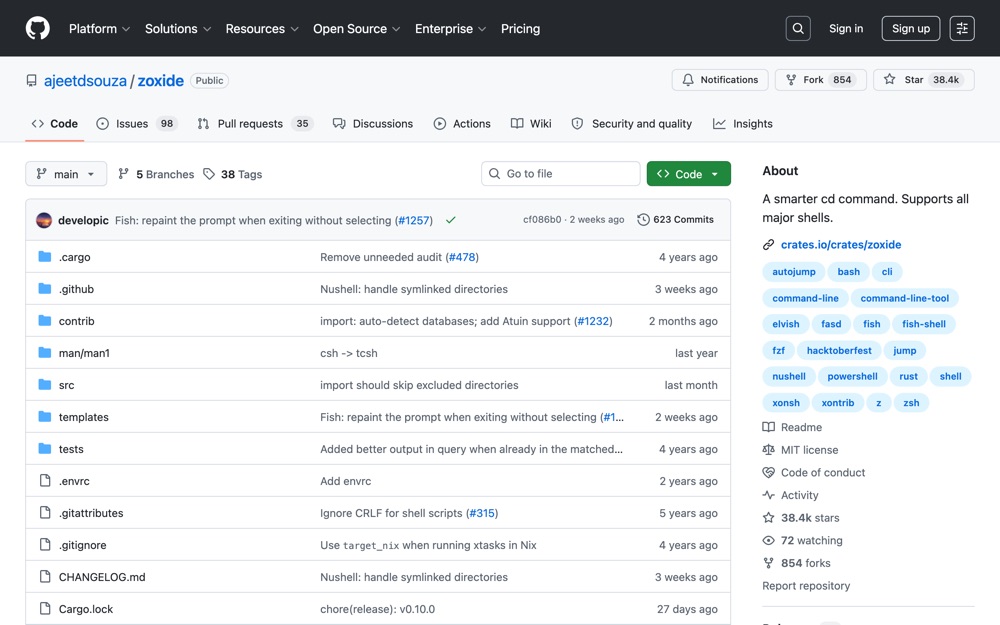 github.com ↗
official; the source of the zsh integration line, the
github.com ↗
official; the source of the zsh integration line, the zusage above, and the matching algorithm if you want to know how the ranking works.