Tools · Setup guide
OpenCode
A terminal coding agent that runs in your project directory — think Claude Code, but provider-agnostic, with a TUI, a headless server mode, and a set of free hosted models you can try before you pay for anything.
Before you start
- macOS, Linux, or Windows. Verified here on macOS 26.5.2 (Apple Silicon).
- Node.js if you install via npm. Verified on Node v25.6.0 / npm 11.17.0.
- An API key is optional to start. OpenCode ships free hosted models that work with zero credentials. You'll want a real provider (Anthropic, OpenAI, etc.) or an OpenCode Zen key for serious work.
- The docs recommend a modern terminal (WezTerm, Alacritty, Ghostty, Kitty) for the TUI. The
runsubcommand works in any terminal.
Set it up
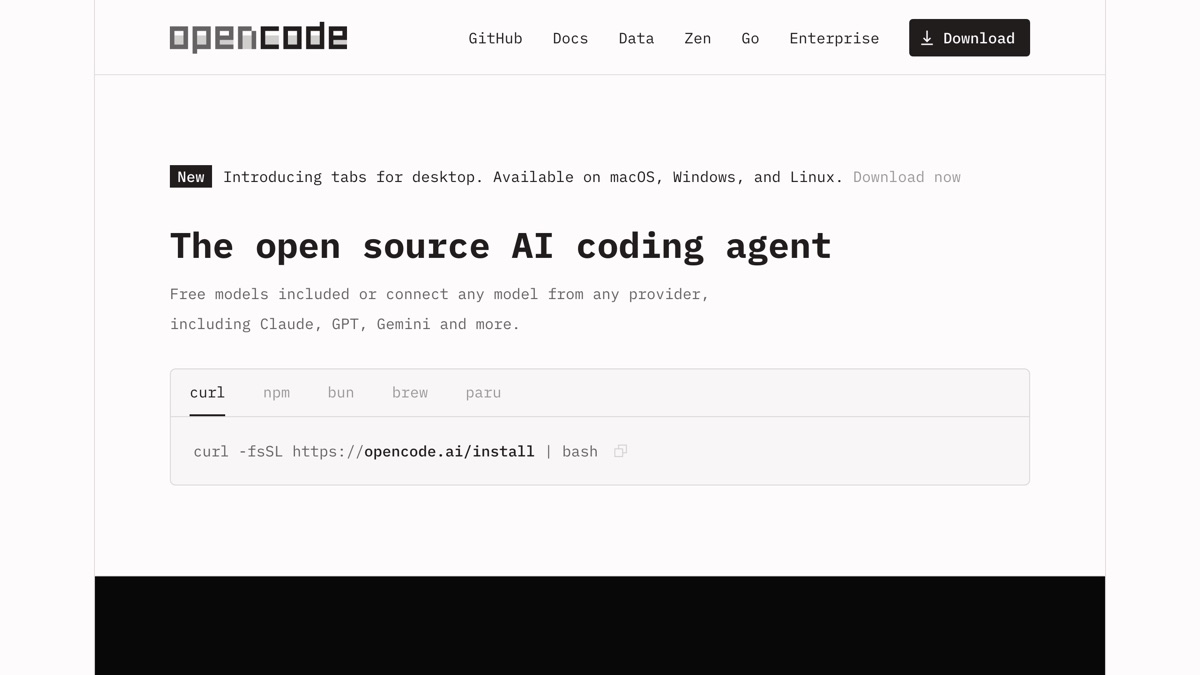
1. Install it. The official script is the recommended path:
curl -fsSL https://opencode.ai/install | bashOr via a package manager:
npm install -g opencode-aibrew install anomalyco/tap/opencode, bun install -g opencode-ai, pnpm install -g opencode-ai, and scoop install opencode all work too.
2. Confirm it's on your PATH:
opencode --version1.18.10npm 11 gotcha: npm now blocks postinstall scripts by default and prints an
allow-scriptswarning during install. OpenCode still works fine — the platform binary comes down as an optional dependency, not from the postinstall. You can ignore the warning.
3. See what models you can reach right now, before configuring anything:
opencode modelsopencode/big-pickle
opencode/deepseek-v4-flash-free
opencode/laguna-s-2.1-free
opencode/ling-3.0-flash-free
opencode/mimo-v2.5-free
opencode/nemotron-3-ultra-free
opencode/north-mini-code-freeThose seven are the keyless free tier. Once you authenticate, this list grows to every model your providers expose.
4. Send a one-shot prompt — no login required:
cd ~/your-project
opencode run "Reply with exactly: OPENCODE OK"
5. Add a real provider. Start the TUI in your project:
opencodeThen inside it, run /connect, pick your provider, and paste the key when prompted. For the first-party option, choose Opencode, visit https://opencode.ai/auth, sign in, add billing, and copy the key back.
Check what stuck:
opencode providers list┌ Credentials /Users/you/.local/share/opencode/auth.json
│
└ 0 credentials6. Teach it about your repo. Inside the TUI, run /init. It writes an AGENTS.md at the project root describing your stack and conventions, which every later session reads.
What success looks like
A keyless one-shot run picks a free model automatically and answers:
> build · deepseek-v4-flash-free

OPENCODE OK
The > build · <model> line is the tell — build is the active agent, and the model name after it confirms which provider actually served the request.
Config and credentials land in predictable places (both respect XDG_CONFIG_HOME / XDG_DATA_HOME):
~/.config/opencode/        opencode.json, tui.json, plugins
~/.local/share/opencode/   auth.json (credentials), log/, repos/
Verified vs not
Verified on opencode-ai@1.18.10, macOS 26.5.2, Node v25.6.0, installed into an isolated npm prefix with XDG_CONFIG_HOME/XDG_DATA_HOME redirected to a sandbox: --version, --help, opencode models, opencode providers list, opencode providers --help, and a full keyless opencode run that returned real model output. Confirmed OpenCode creates its config and data directories on first run and honours the XDG variables.
Not simulated: the interactive /connect OAuth flow and /init, both of which need a real account and a TTY; and any authenticated session against a paid provider — no API keys were available for this writeup.
One real failure worth knowing about: if you install the omo plugin (see the omo article) without configuring a provider, it registers itself in ~/.config/opencode/opencode.json and the free-model path stops working:
Error: {
  "name": "UnknownError",
  "data": { "message": "Unexpected server error. Check server logs for details." }
}
Confirmed by re-running with a clean config, where the identical command succeeded. If you hit this, opencode --pure runs without external plugins and is the fastest way to tell a plugin problem from a provider problem.
Go deeper
-
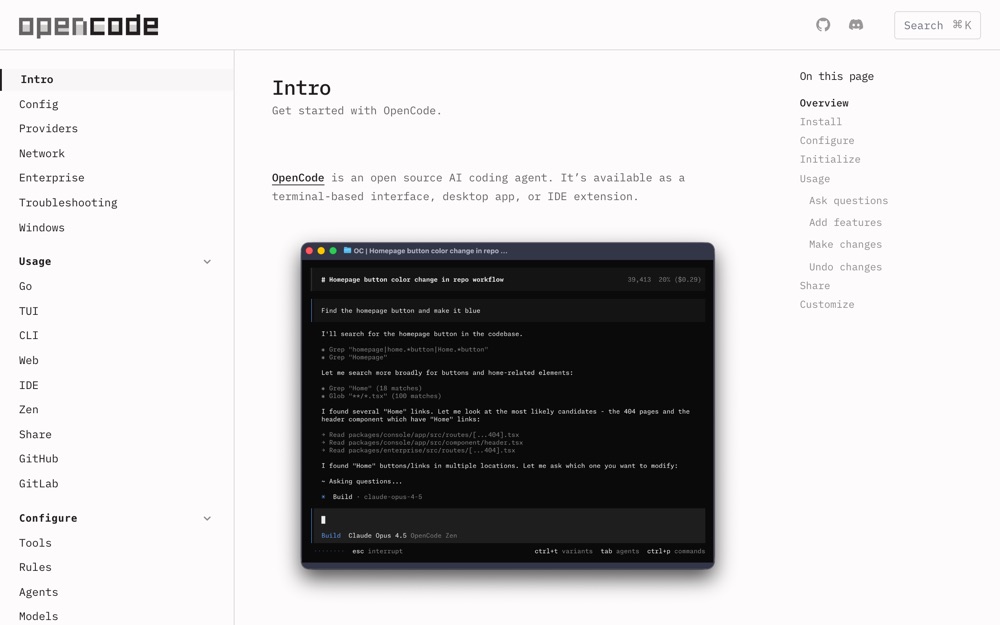 opencode.ai ↗
official docs index; the install matrix here is the canonical list of package managers.
opencode.ai ↗
official docs index; the install matrix here is the canonical list of package managers.
-
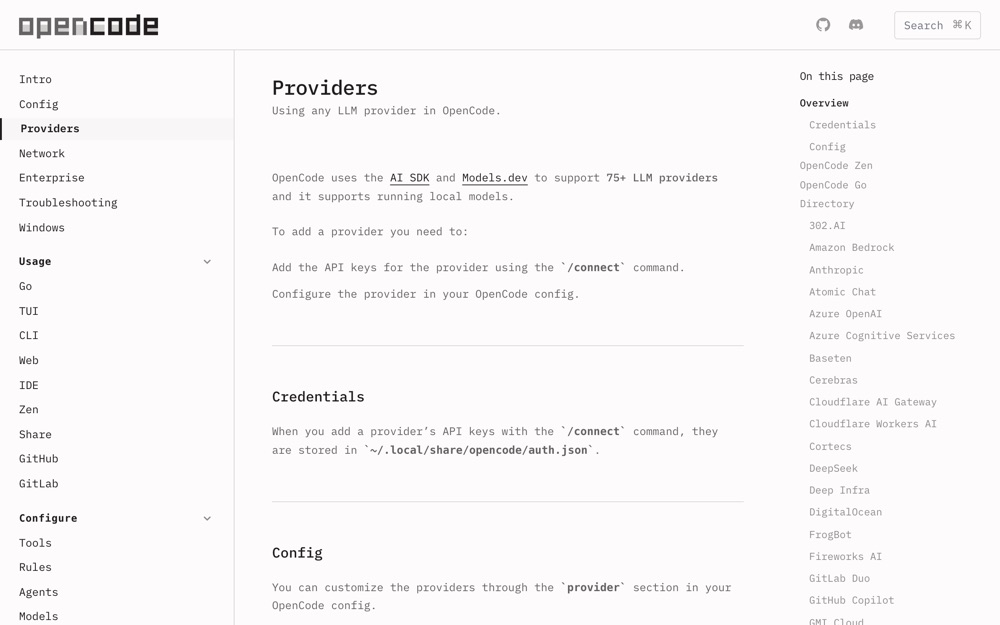 opencode.ai ↗
every supported provider and the exact auth method each one needs. This is the page for the
opencode.ai ↗
every supported provider and the exact auth method each one needs. This is the page for the /connectstep above. -
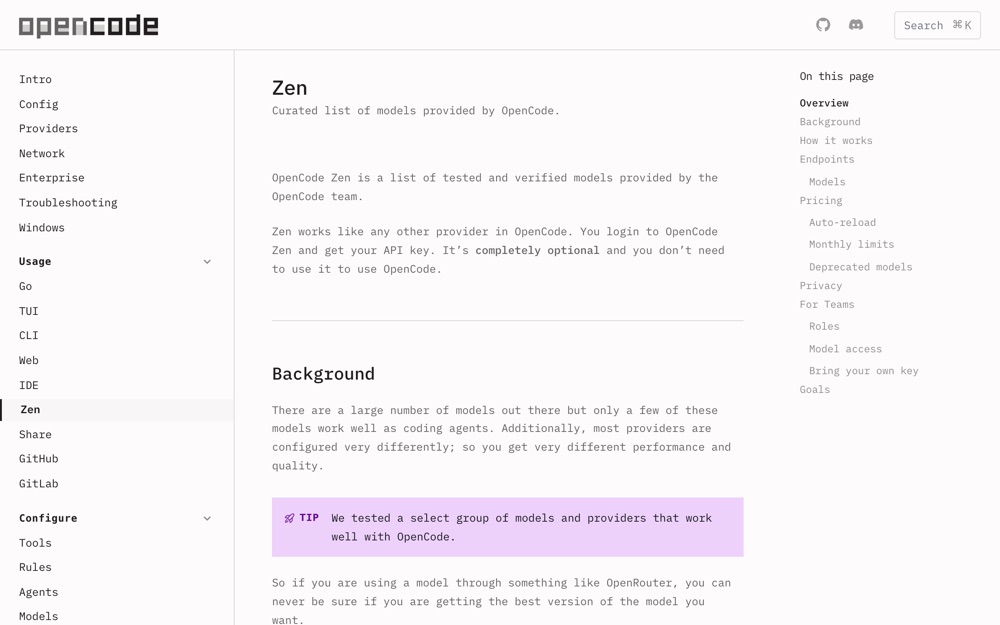 opencode.ai ↗
OpenCode Zen, the first-party hosted model gateway behind the
opencode.ai ↗
OpenCode Zen, the first-party hosted model gateway behind the opencode/*model IDs. -
 opencode.ai ↗
full
opencode.ai ↗
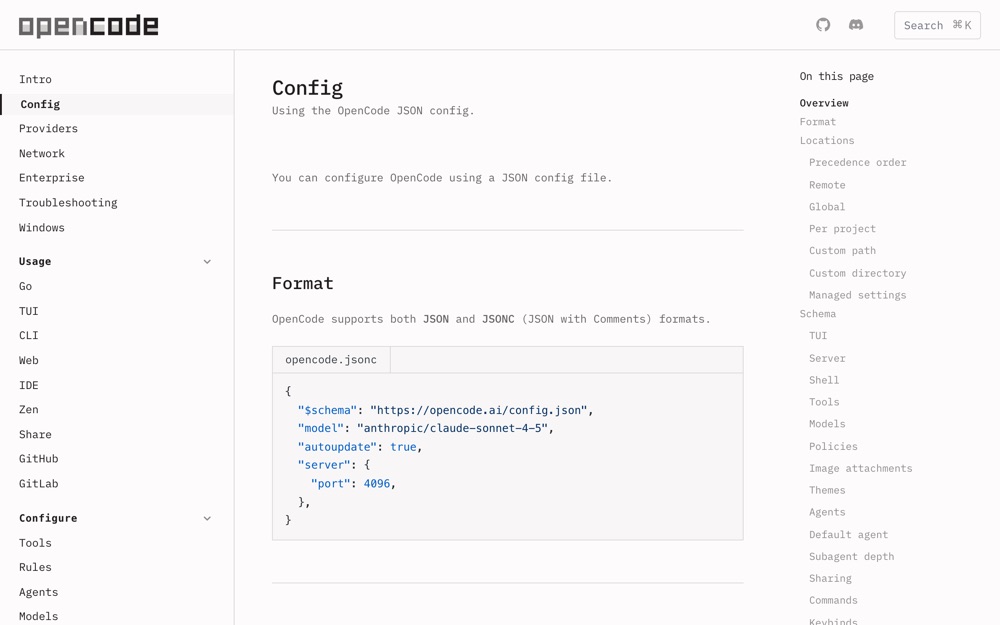
full opencode.jsonschema: default model, agents, plugins, permissions. -
 opencode.ai ↗
how the
opencode.ai ↗
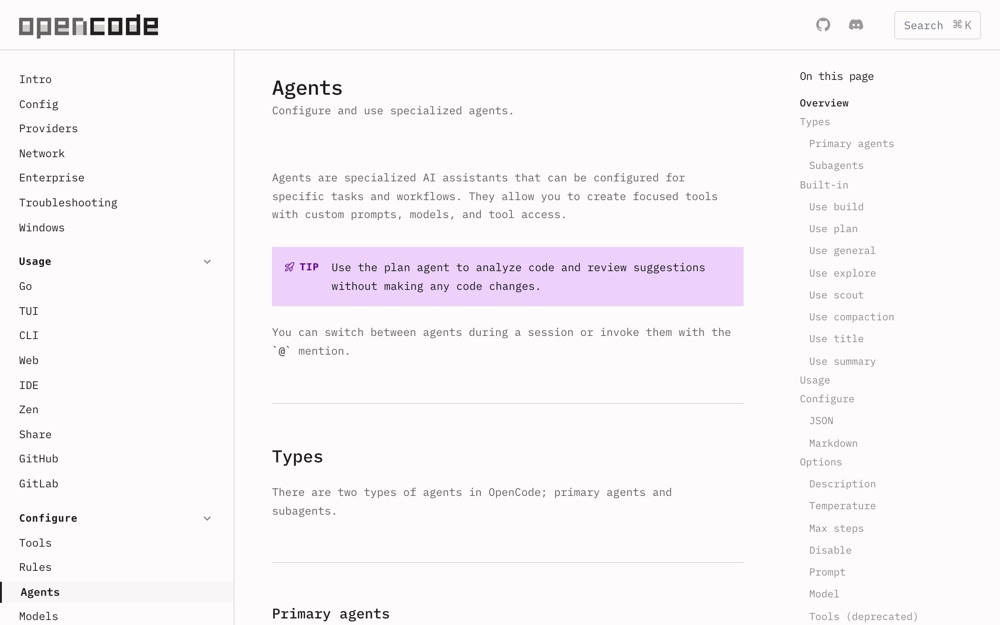
how the buildagent you saw in the output works, and how to define your own. -
 github.com ↗
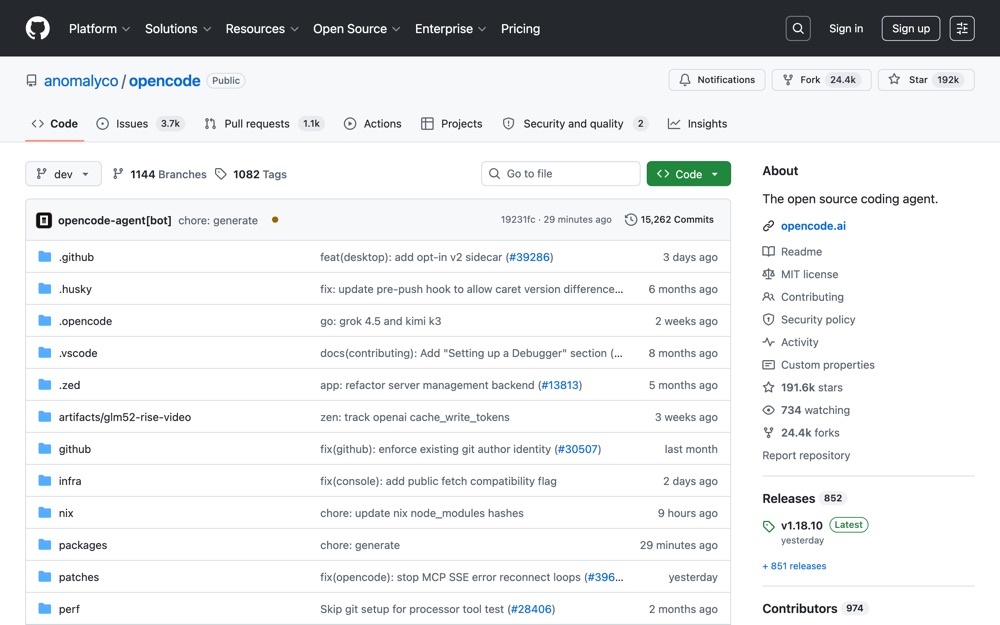
source and issue tracker; the fastest place to confirm whether a bug is known.
github.com ↗
source and issue tracker; the fastest place to confirm whether a bug is known.