Tools · Setup guide
omo
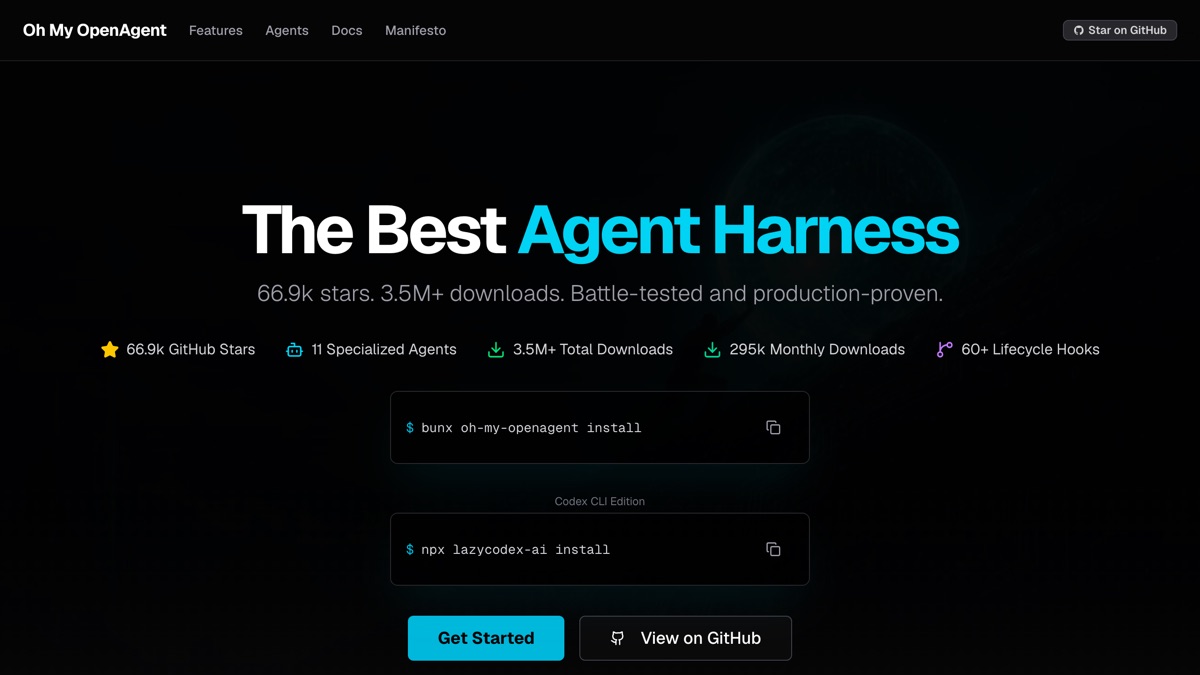
A configuration layer that sits on top of OpenCode (or Codex CLI) and wires up eleven specialist agents, multi-model fallback chains, and LSP tooling — so you type ultrawork and it plans, researches, and executes in parallel instead of you hand-tuning agent config.
Before you start
- OpenCode already installed and working. omo is a plugin, not a standalone agent. Set up OpenCode first.
- Bun for the OpenCode edition. Verified on Bun 1.3.14. The Codex edition runs on plain npm instead.
- At least one model provider you actually pay for. This is the big one — omo assigns models by subscription priority, and with nothing configured it falls back to a nano model and the setup is effectively inert.
- Know that it writes to your home directory. See the warning below before you run anything.
Heads up: omo ignores
XDG_CONFIG_HOME. Its own config always goes to~/.omo/omo.jsonc, regardless of environment overrides. You cannot fully sandbox it. It does take an automatic timestamped backup (omo.jsonc.bak.<ISO-timestamp>) before overwriting, so a bad run is recoverable — but back up~/.omo/yourself if you have a config you care about.
Set it up
1. Run the installer. OpenCode edition (the full-featured one):
bunx oh-my-openagent installCodex CLI edition (lighter, npm-only):
npx lazycodex-ai installBoth editions at once:
bunx oh-my-openagent install --platform=bothBare, that command opens an interactive wizard asking which subscriptions you hold.
2. Or skip the wizard if you know your providers. Every prompt has a flag:
bunx oh-my-openagent install --no-tui --platform=opencode \
  --claude=max20 --openai=yes --gemini=yes --copilot=no
--claude takes no, yes, or max20. Most others take no or yes. --platform takes opencode, codex, or both. Run bunx oh-my-openagent install --help for the full list — there are eleven provider flags including --opencode-zen, --zai-coding-plan, --kimi-for-coding, and --vercel-ai-gateway.
3. Turn off telemetry if you want to. It's on by default:
export OMO_SEND_ANONYMOUS_TELEMETRY=04. Verify the install:
bunx oh-my-openagent doctor oMoMoMoMo Doctor
✓ System OK (opencode 1.18.10 · oh-my-openagent 4.19.3)5. Use it. Start OpenCode as normal and put the magic word in your prompt:
opencodeThen type a request containing ultrawork (or the short form ulw). That's the whole interface — it switches on parallel agents, background tasks, deep exploration, and self-correction loops.
What success looks like
The installer ends with a summary box showing which providers it detected, then:
[OK] Config written -> /Users/you/.omo/omo.jsonc
...
* Installation complete!
  Run opencode to start!

┌─ The Magic Word ─────────────────────────────────────────────────┐
│ Pro Tip: Include ultrawork (or ulw) in your prompt.               │
│ All features work like magic-parallel agents, background tasks,   │
│ deep exploration, and relentless execution until completion.      │
└───────────────────────────────────────────────────────────────────┘
It registers itself as an OpenCode plugin by rewriting your OpenCode config:
{
  "plugin": ["oh-my-openagent@latest"],
  "$schema": "https://opencode.ai/config.json"
}
If you configure no providers, watch for this line — it means the install did nothing useful:
[!] No model providers configured. Using opencode/gpt-5-nano as fallback.Worse, in that state the plugin breaks OpenCode's own free-model path. A plain opencode run that worked before the install starts returning UnknownError: Unexpected server error. Either configure a real provider, or remove "plugin": ["oh-my-openagent@latest"] from your OpenCode config. opencode --pure skips plugins and is the quickest way to confirm omo is the culprit.
Verified vs not
Verified on oh-my-openagent@4.19.3 with opencode@1.18.10, macOS 26.5.2, Bun 1.3.14: --version, --help, install --help, a complete non-interactive install --no-tui --platform=opencode run, and doctor reporting a healthy system. Confirmed the exact config path (~/.omo/omo.jsonc), the automatic timestamped backup behaviour, that XDG_CONFIG_HOME is ignored for omo's own config but honoured for the OpenCode plugin registration, and the free-model regression described above.
Not simulated: the interactive setup wizard (needs a TTY), any provider authentication, and an actual ultrawork session — that needs a paid Claude/OpenAI/Gemini subscription, and no keys were available for this writeup. The eleven-agent orchestration is the whole point of the tool and is entirely unverified here.
Two more things the installer flagged that you should know before running it on a real machine:
- The
ast-grepskill failed to provision underbunx(skipped sg provisioning: missing .../skills/ast-grep/install.sh). A global install rather thanbunxmay avoid this. --codex-autonomousconfigures Codex with approval set to never, full filesystem access, and network enabled. Don't pass it casually.
Go deeper
-
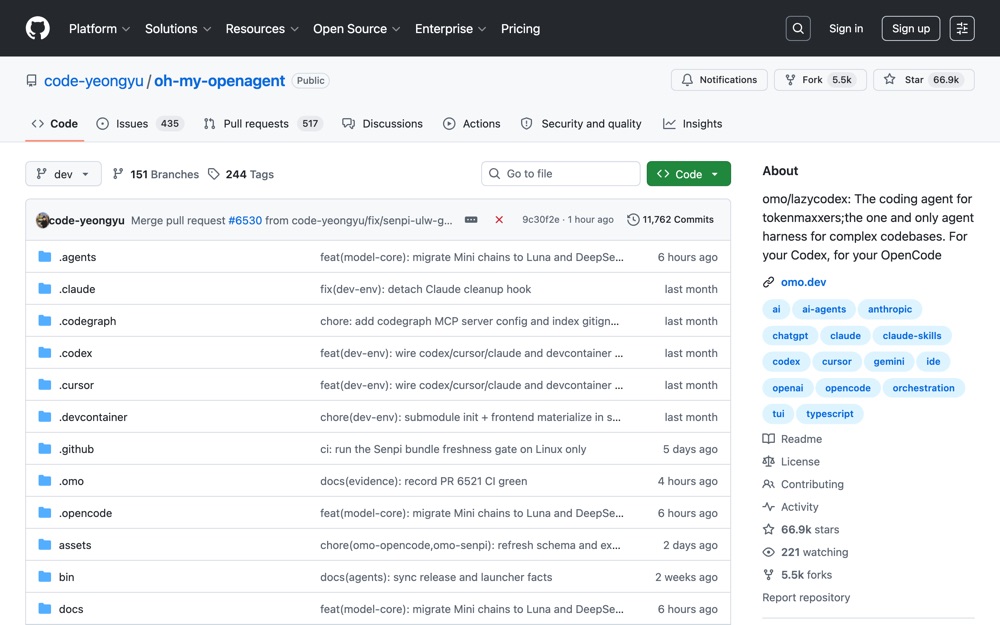 github.com ↗
the README is the real documentation: agent roster, model priority chain, the
github.com ↗
the README is the real documentation: agent roster, model priority chain, the boulder.jsonsession-continuity system, and the 60+ lifecycle hooks. Notably, it recommends letting an LLM agent run the install for you because the provider setup trips people up. -
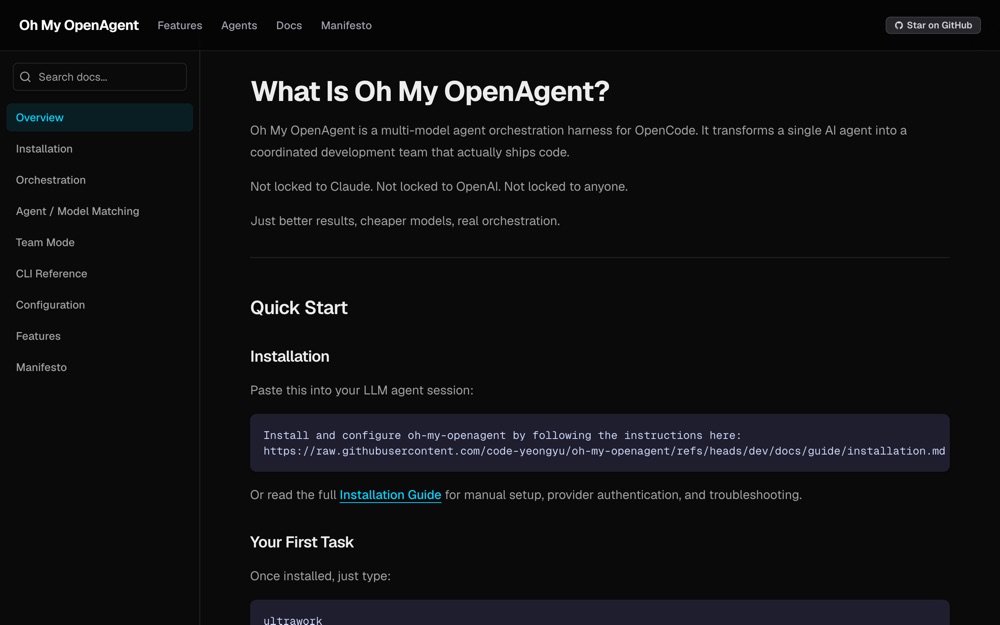 omo.dev ↗
the hosted docs site, same content in a browsable form; start here for the agent-by-agent breakdown.
omo.dev ↗
the hosted docs site, same content in a browsable form; start here for the agent-by-agent breakdown.
-
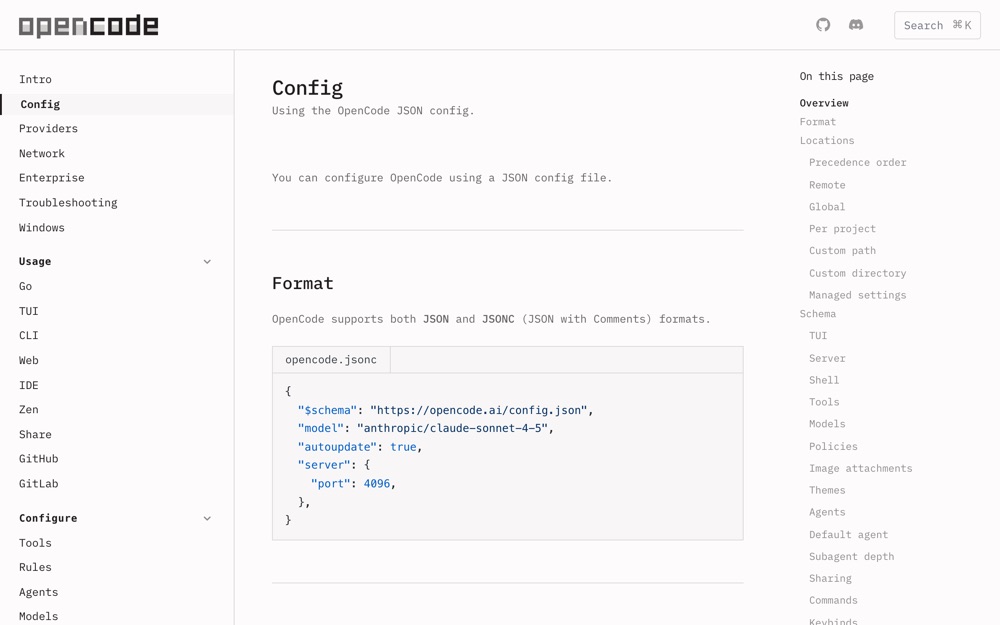 opencode.ai ↗
the OpenCode config schema omo writes into. Read this to understand (and undo) the
opencode.ai ↗
the OpenCode config schema omo writes into. Read this to understand (and undo) the pluginkey it adds.