Tools · Setup guide
GSD
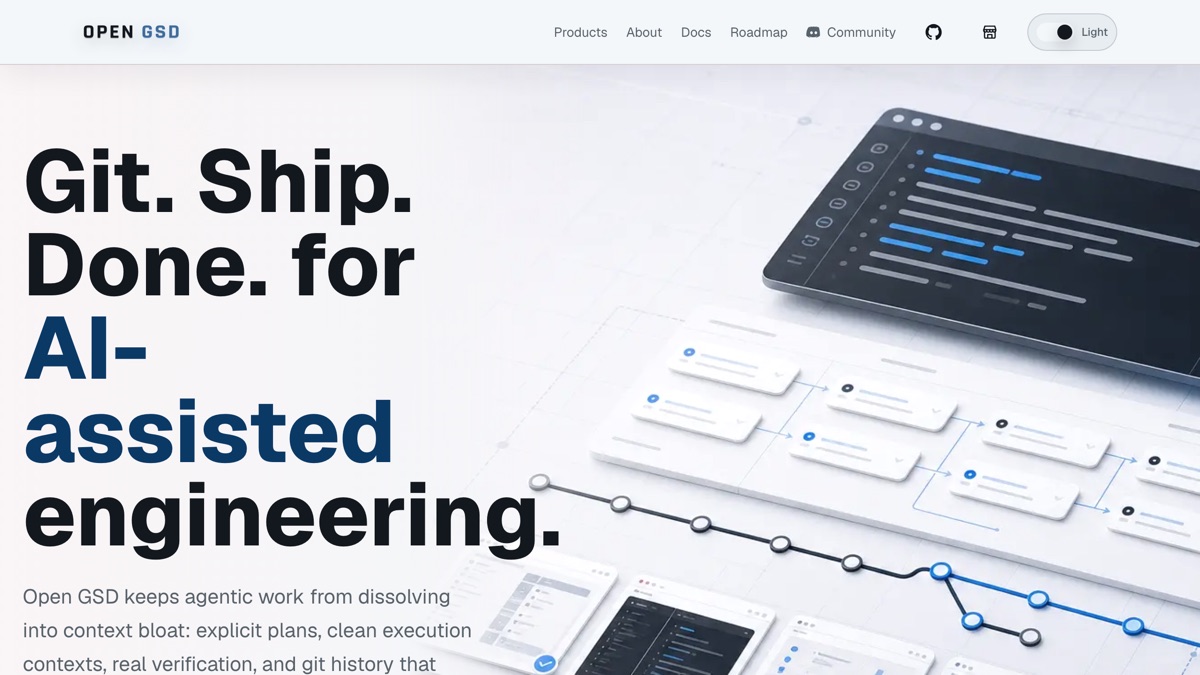
A terminal agent built around structured task graphs and git-backed verification — reach for it when you want an AI agent that keeps an explicit plan, works in clean per-task contexts, and leaves a git history you can actually review, instead of one long sprawling session.
Before you start
- Node.js and npm. Verified on Node v25.6.0 / npm 11.17.0, macOS 26.5.2.
- A git repository. GSD is built around git worktrees and commit history; run it inside a repo.
- An LLM provider key — Anthropic, OpenAI, Google, OpenRouter, Ollama, LM Studio, or any OpenAI-compatible endpoint. The setup wizard walks you through it.
- ~1.5 GB of patience on first install unless you skip the extras. It pulls a Chromium build for the browser companion and an RTK shell-compression binary by default.
Name collision, check this first.
gsdis a common shell alias forgit svn dcommit, and it silently shadows the real binary. On the machine used for this writeup,gsd --helpprintedgit: 'svn' is not a git commandinstead of GSD's help. Runtype gsdbefore you start. If it reports an alias, either remove it from your shell rc or callgsd-pi/./node_modules/.bin/gsdexplicitly.
Set it up
1. Understand what you're installing. @opengsd/gsd-pi is an installer, not the agent. You run it, and it installs GSD proper. Either invoke it directly:
npx @opengsd/gsd-pi@latestOr install the installer globally first, then run it:
npm install -g @opengsd/gsd-pi@latest
gsd-pi
2. Control what it downloads. The defaults grab Chromium and the RTK binary. To skip both:
gsd-pi --yes --skip-chromium --skip-rtk--yes is required in any non-interactive context (CI, scripts, no TTY). The equivalent environment variables are PLAYWRIGHT_SKIP_BROWSER_DOWNLOAD=1, GSD_SKIP_RTK_INSTALL=1, and GSD_RTK_DISABLED=1.
To install into the current project instead of globally, add --local:
cd ~/your-repo
gsd-pi --local --yes --skip-chromium --skip-rtk
3. Configure your provider:
gsd configThis is the interactive wizard. It covers the LLM provider, a web-search provider (Brave, Tavily, or built-in), remote question routing (Discord, Slack, Telegram), and optional tool API keys (Context7, Jina, Groq). Every step is skippable and changeable later via /login and /search-provider inside the TUI.
4. Check which models you can reach:
gsd --list-modelsprovider model name context max-out thinking images
openai-codex gpt-5.6-terra GPT-5.6 Terra 372K 128K yes yes
google-gemini-cli gemini-3.1-pro-preview Gemini 3.1 Pro Preview 1M 65.5K yes no
anthropic claude-sonnet-5 Claude Sonnet 5 1M 128K yes yes
ollama gpt-oss:latest Gpt oss 131.1K 16.4K yes no5. Start it:
gsdUseful flags on that command: --worktree (or -w) starts in an isolated git worktree, --continue (-c) resumes your last session, --print (-p) does a single-shot non-interactive run, and --model provider/model-id overrides the model for one session.
What success looks like
The installer finishes with a checklist and a version confirmation:
◆  Dependencies installed
◆  Workspace packages 14 linked
●  Chromium (skipped)
●  RTK (disabled)
◆  Verified gsd v1.11.0

Installed. Run:
  gsd config   # configure LLM provider
  gsd          # start agent
A working agent greets you with its orientation prompt rather than an error:
Hello! I'm GSD, ready to help with your project.

I can see we're in the `proj-gsd` working directory. What would you like to work on? I can help with:

- **Starting something new** — plan a feature, milestone, or quick task
- **Continuing existing work** — check status of in-progress milestones
- **Exploring the codebase** — understand what's here
- **A quick task** — bug fix, refactor, or small change
Config lives in ~/.gsd/ regardless of where you installed the binary:
~/.gsd/agent/     auth.json, settings.json, sessions/, skills/, agents/, GSD-WORKFLOW.md
~/.gsd/extensions/registry.json
Credential migration is automatic and silent. On first run GSD scans for existing credentials and imports them, printing lines like:
[gsd] Migrated LLM provider: anthropic (from Pi)
[gsd] Migrated LLM provider: openai-codex (from Pi)
That's convenient, but it means a "fresh" install may already be authenticated against keys you didn't deliberately give it. Worth knowing before you run it on a shared or work machine.
Verified vs not
Verified on @opengsd/gsd-pi@1.11.0 producing gsd@1.11.0, macOS 26.5.2, Node v25.6.0, installed with an isolated npm prefix and --local into a throwaway git repo: gsd-pi --version, gsd-pi --help, a complete --local --yes --skip-chromium --skip-rtk install, gsd --version, gsd --help, gsd config --help, gsd --list-models returning a real populated model table, and a single-shot gsd -p run returning genuine agent output. Also confirmed the git svn dcommit alias collision and the exact ~/.gsd/ layout.
Not simulated: the gsd config wizard itself (needs a TTY), and — deliberately — any multi-step planning or execution work. The gsd -p run above succeeded only because GSD auto-migrated pre-existing credentials from the machine; no keys were provisioned for this writeup, and no further authenticated calls were made. The task-graph, worktree, verification, and knowledge-graph features (gsd graph, gsd worktree, gsd headless) are documented but untested here.
One more caveat: gsd-pi --local installs into ./node_modules, but GSD still keeps its config globally in ~/.gsd/. "Local" means the binary, not the state — two local installs on the same machine share one config.
Go deeper
-
 opengsd.net ↗
the project homepage; explains the task-graph and verification model that distinguishes GSD from a plain chat agent, and lists the product variants (gsd-core, gsd-pi, gsd-workbench, gsd-cloud).
opengsd.net ↗
the project homepage; explains the task-graph and verification model that distinguishes GSD from a plain chat agent, and lists the product variants (gsd-core, gsd-pi, gsd-workbench, gsd-cloud).
-
 opengsd.net ↗
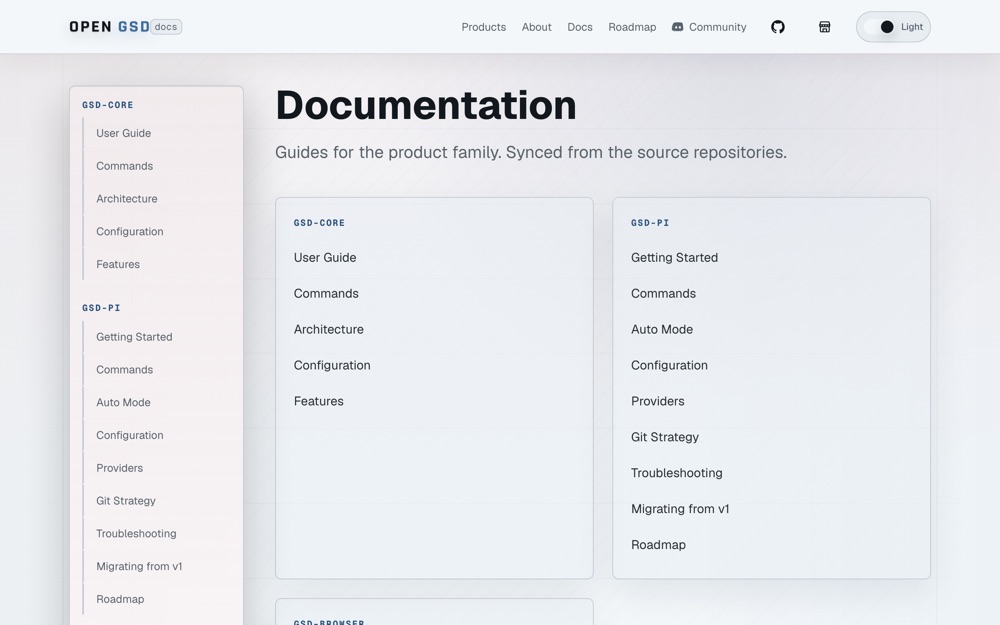
the documentation index; go here for
opengsd.net ↗
the documentation index; go here for docs/providers.md, which has the per-provider setup detail (OpenRouter, Ollama, LM Studio, vLLM, and other OpenAI-compatible endpoints) that thegsd configwizard assumes you've read.
- Run
gsd <subcommand> --helplocally. GSD's per-subcommand help is unusually complete —gsd graph --help,gsd worktree --help, andgsd headless --helpdocument features the website doesn't cover in depth.